
Managing your translations
Customizing the language picker
Language Picker Setup
TranslateWith.ai offers multiple options for setting up the language picker on your website. By default, a floating language picker is added automatically. However, if you want to customize the language picker or place it in a specific location on your site, follow the instructions below.
Option 1: Floating Language Picker (Default)
No action is required for this option. A floating language picker will be added to the bottom right corner of your site by default.
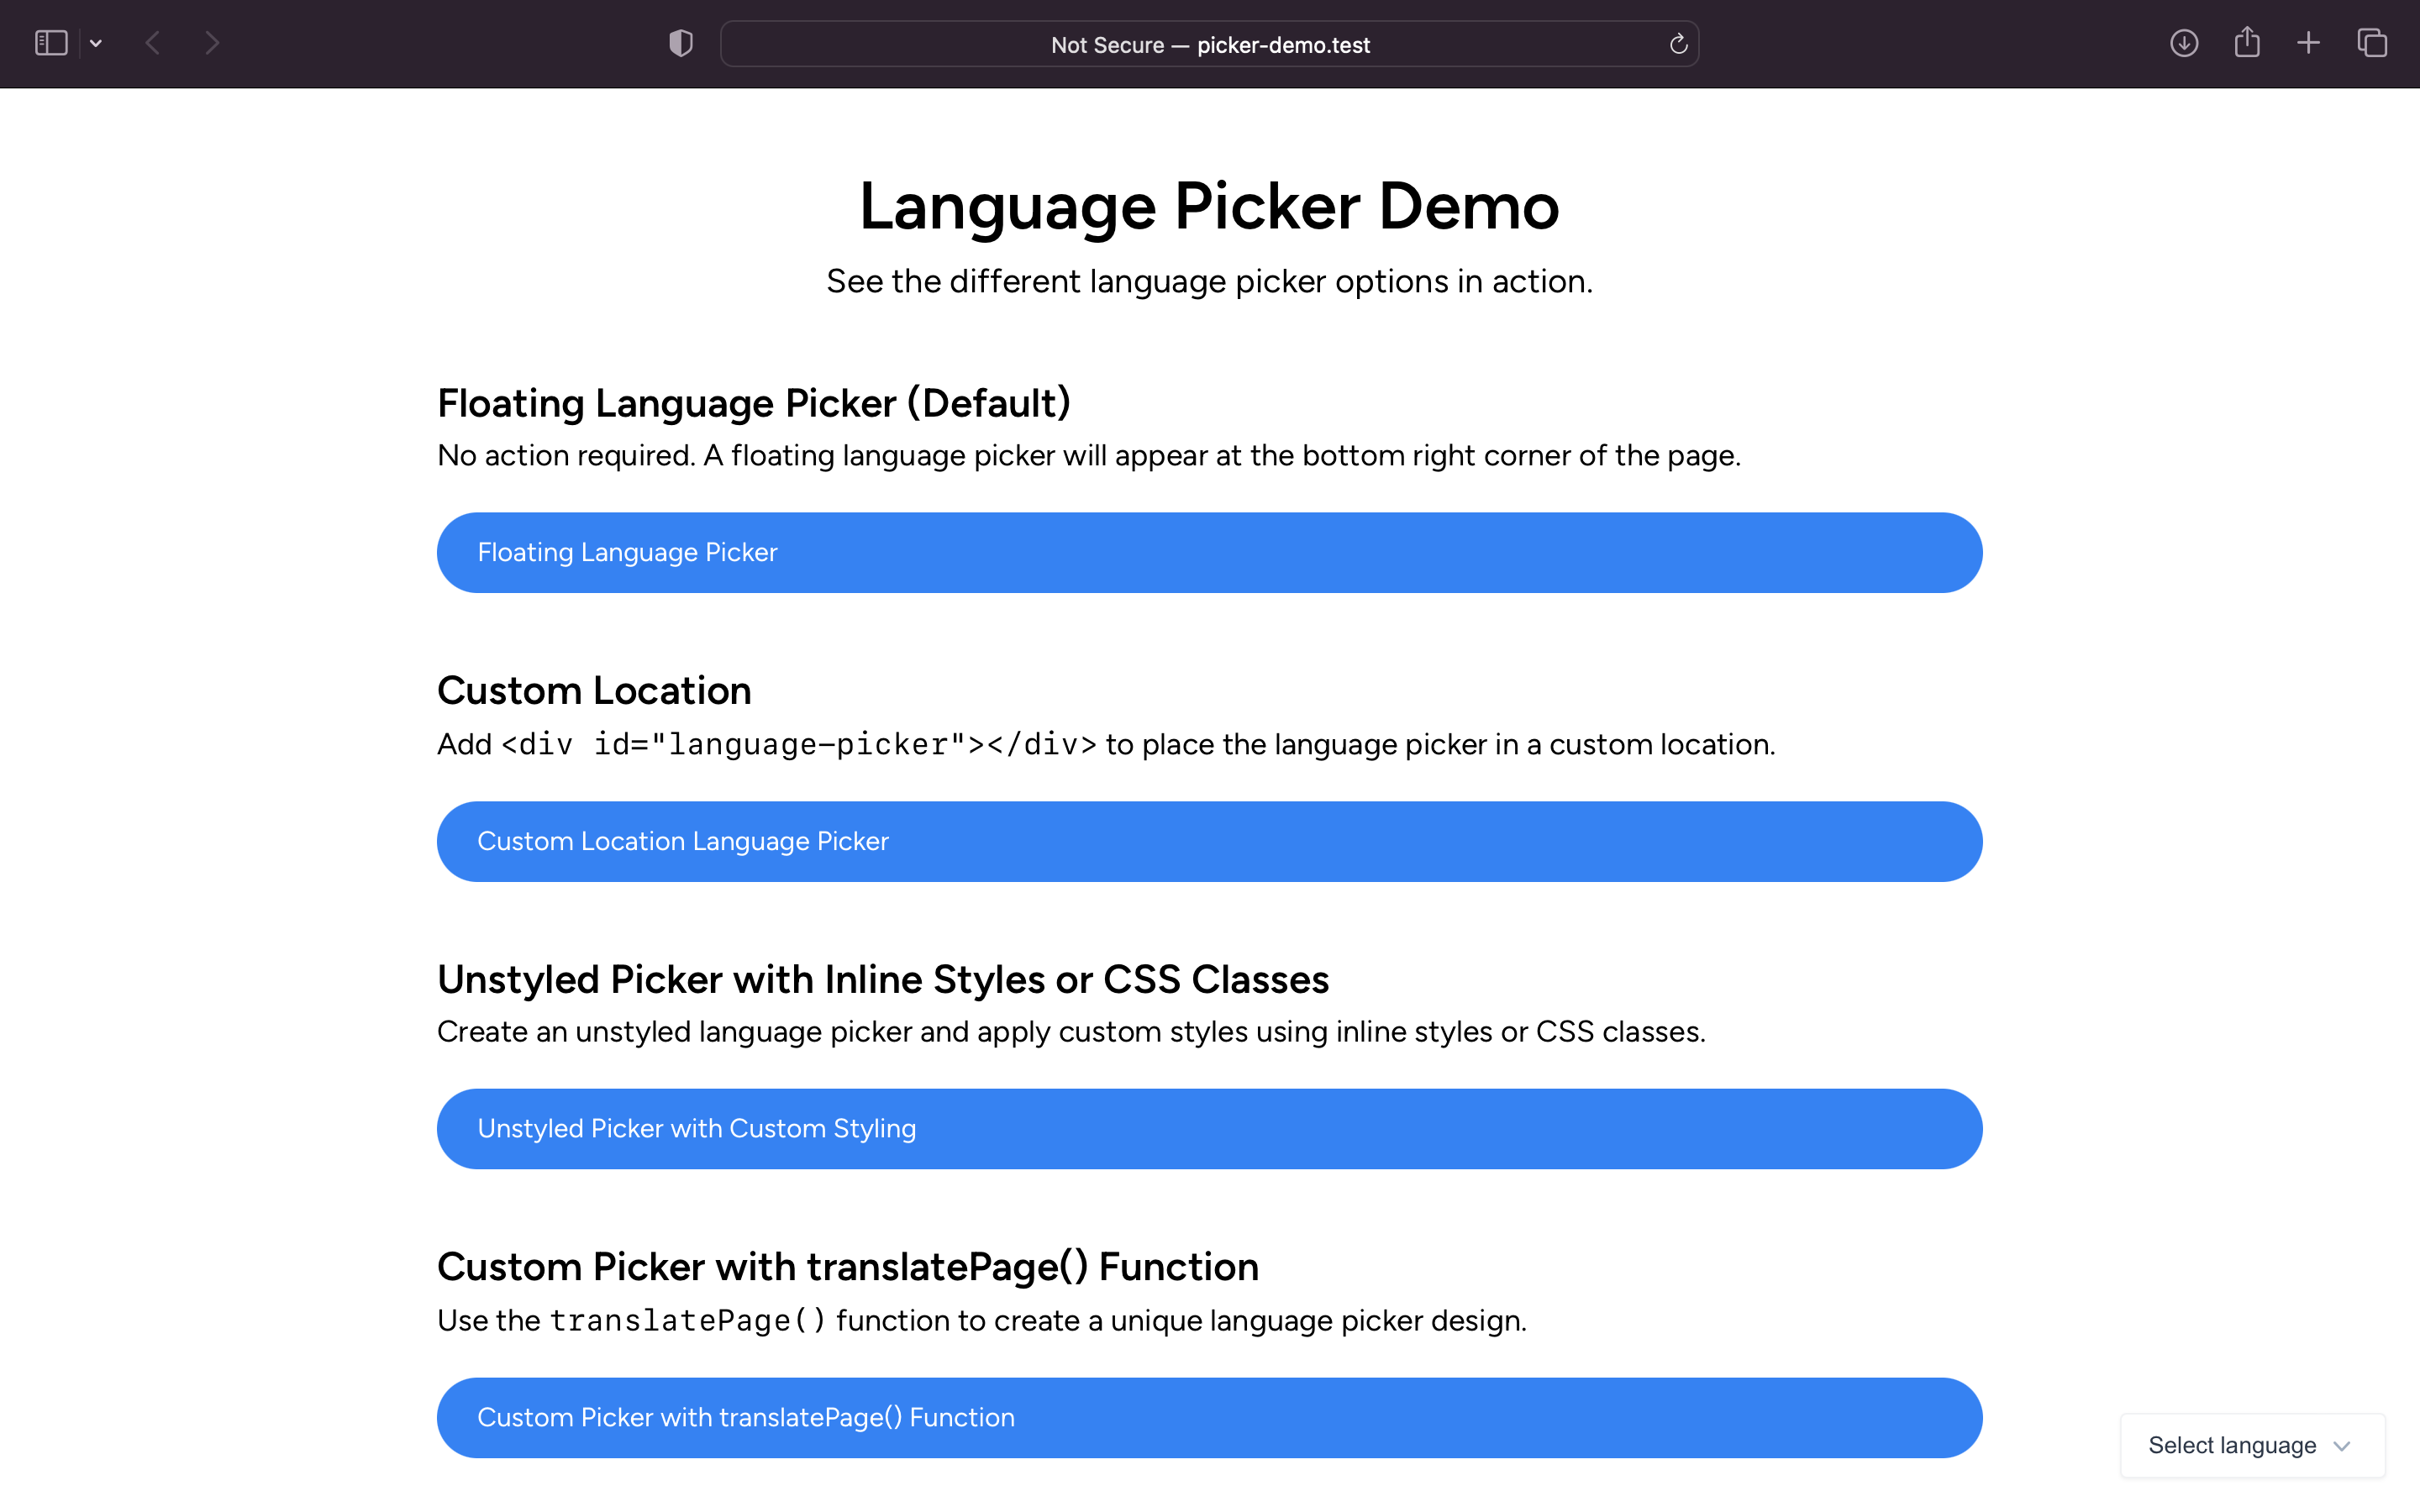
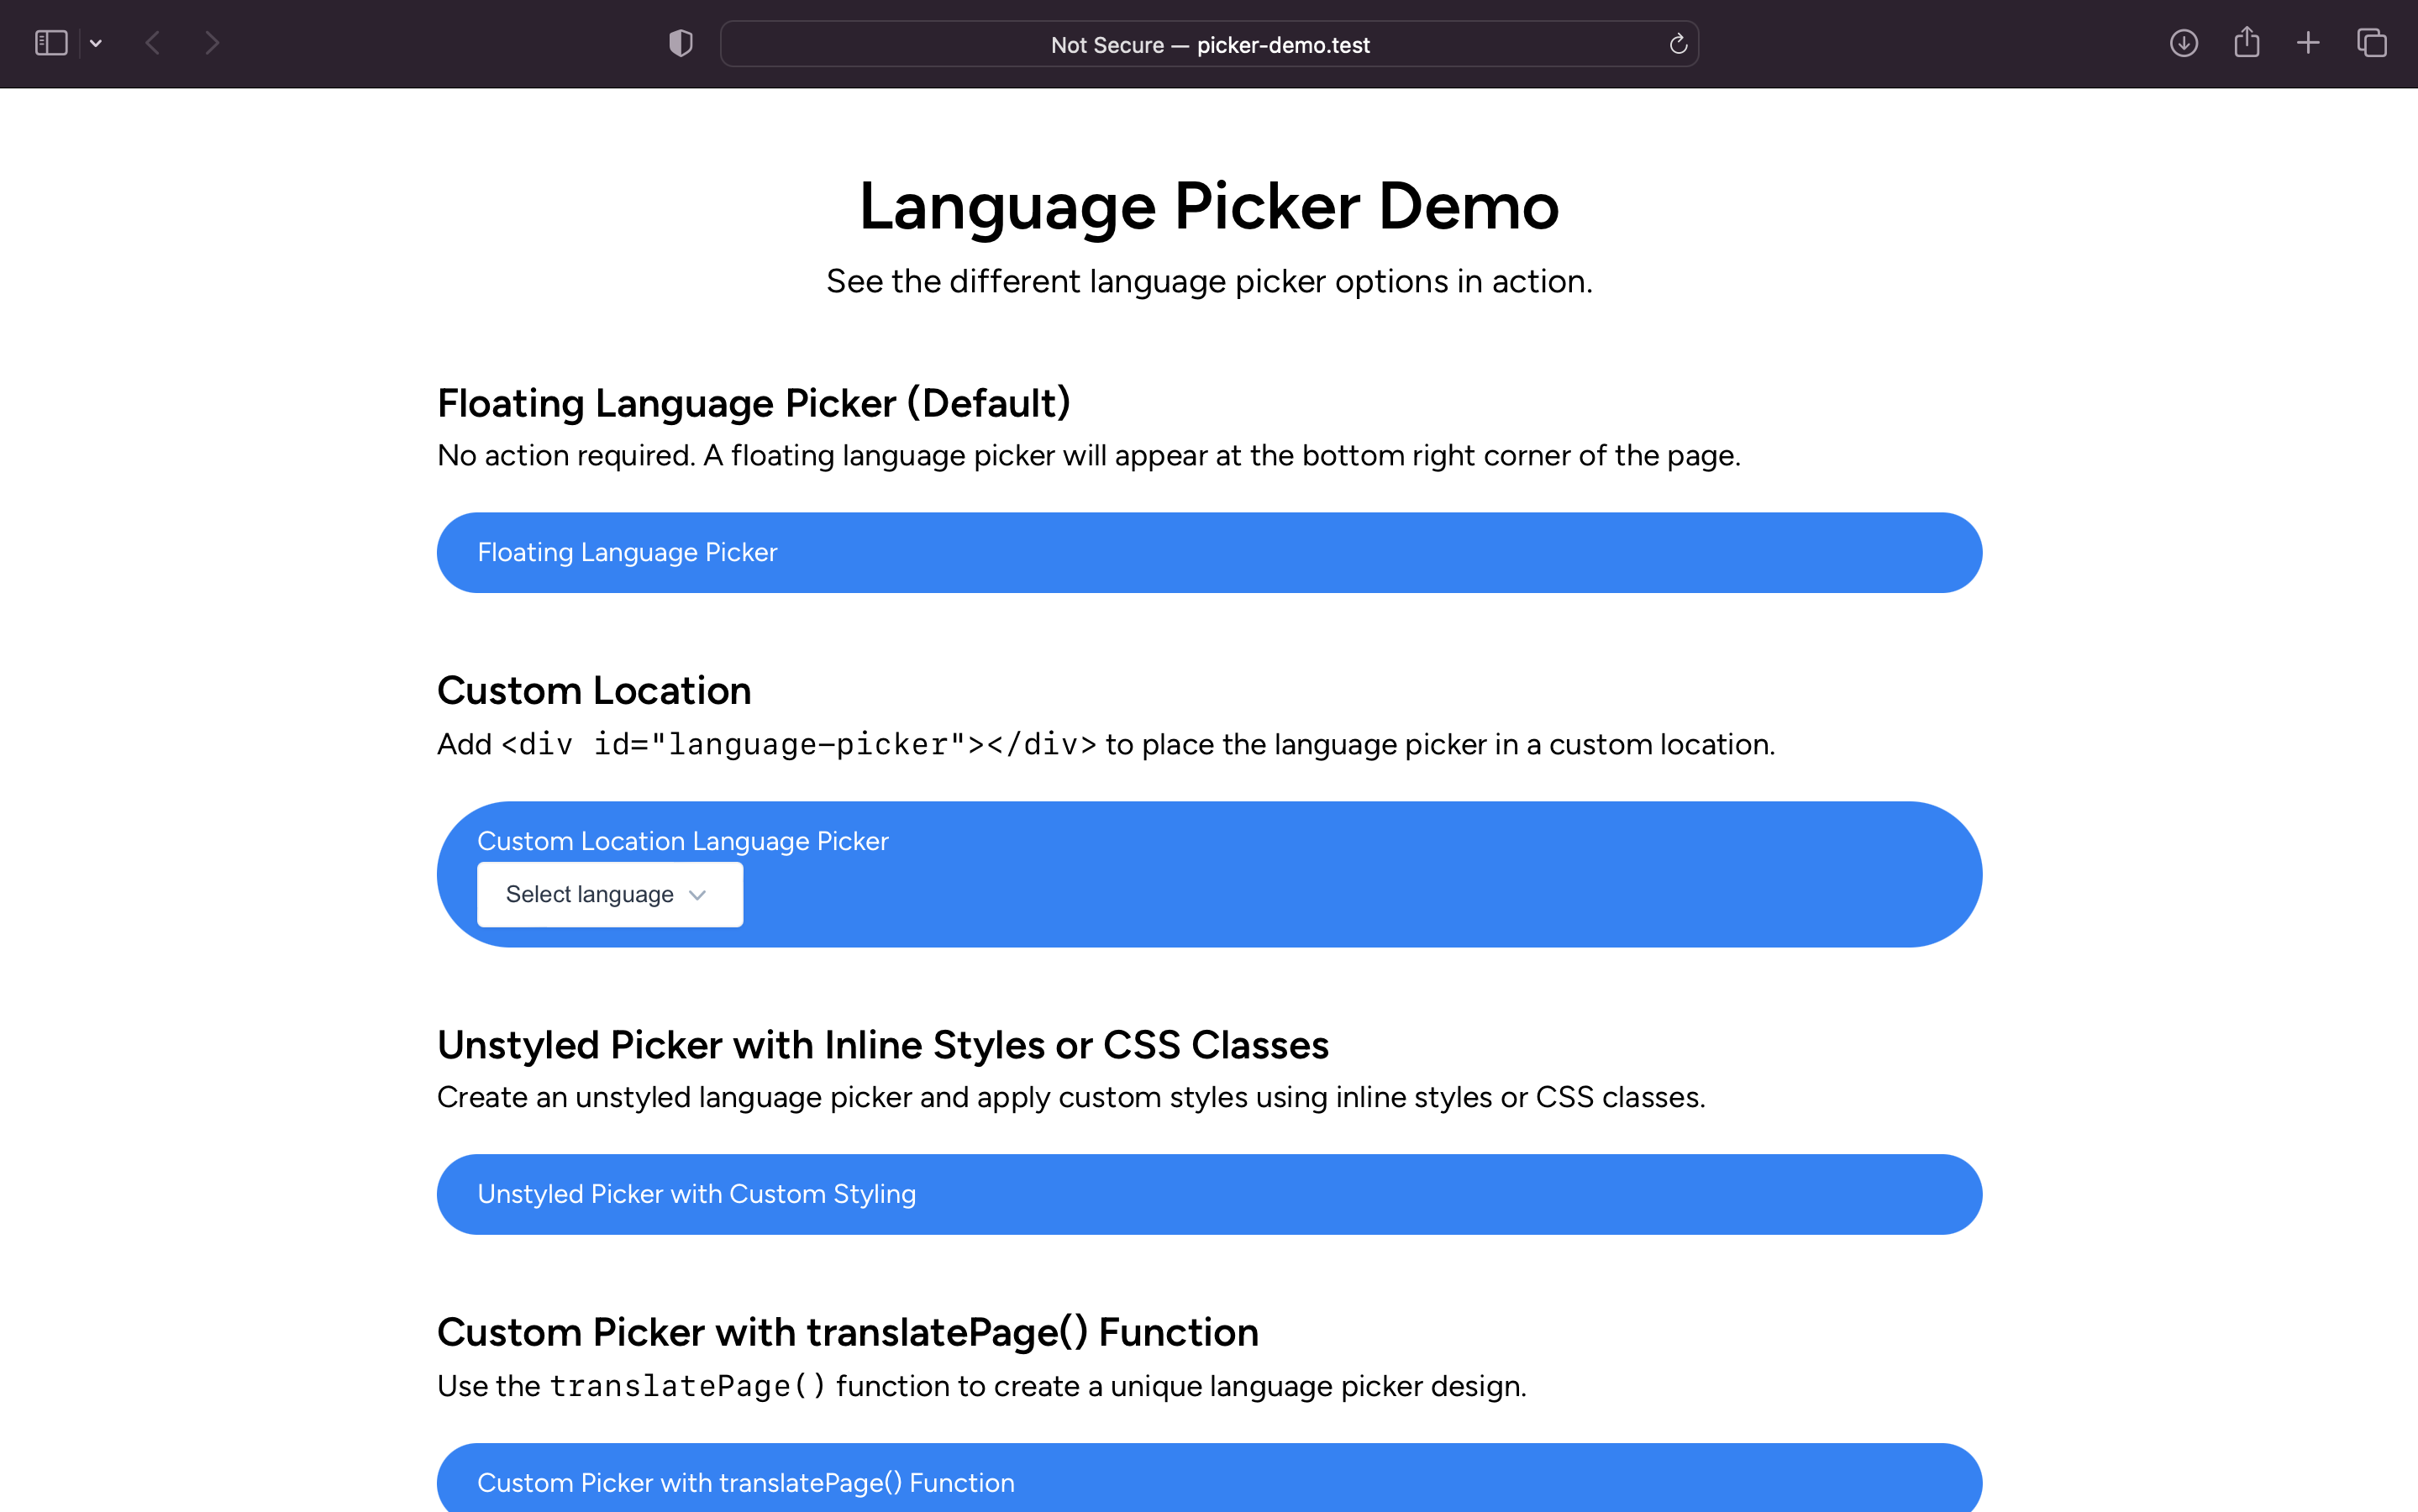
Option 2: Custom Location
To place the language picker in a custom location on your site, add the following HTML code where you want the picker to appear:
<div id="language-picker"></div>
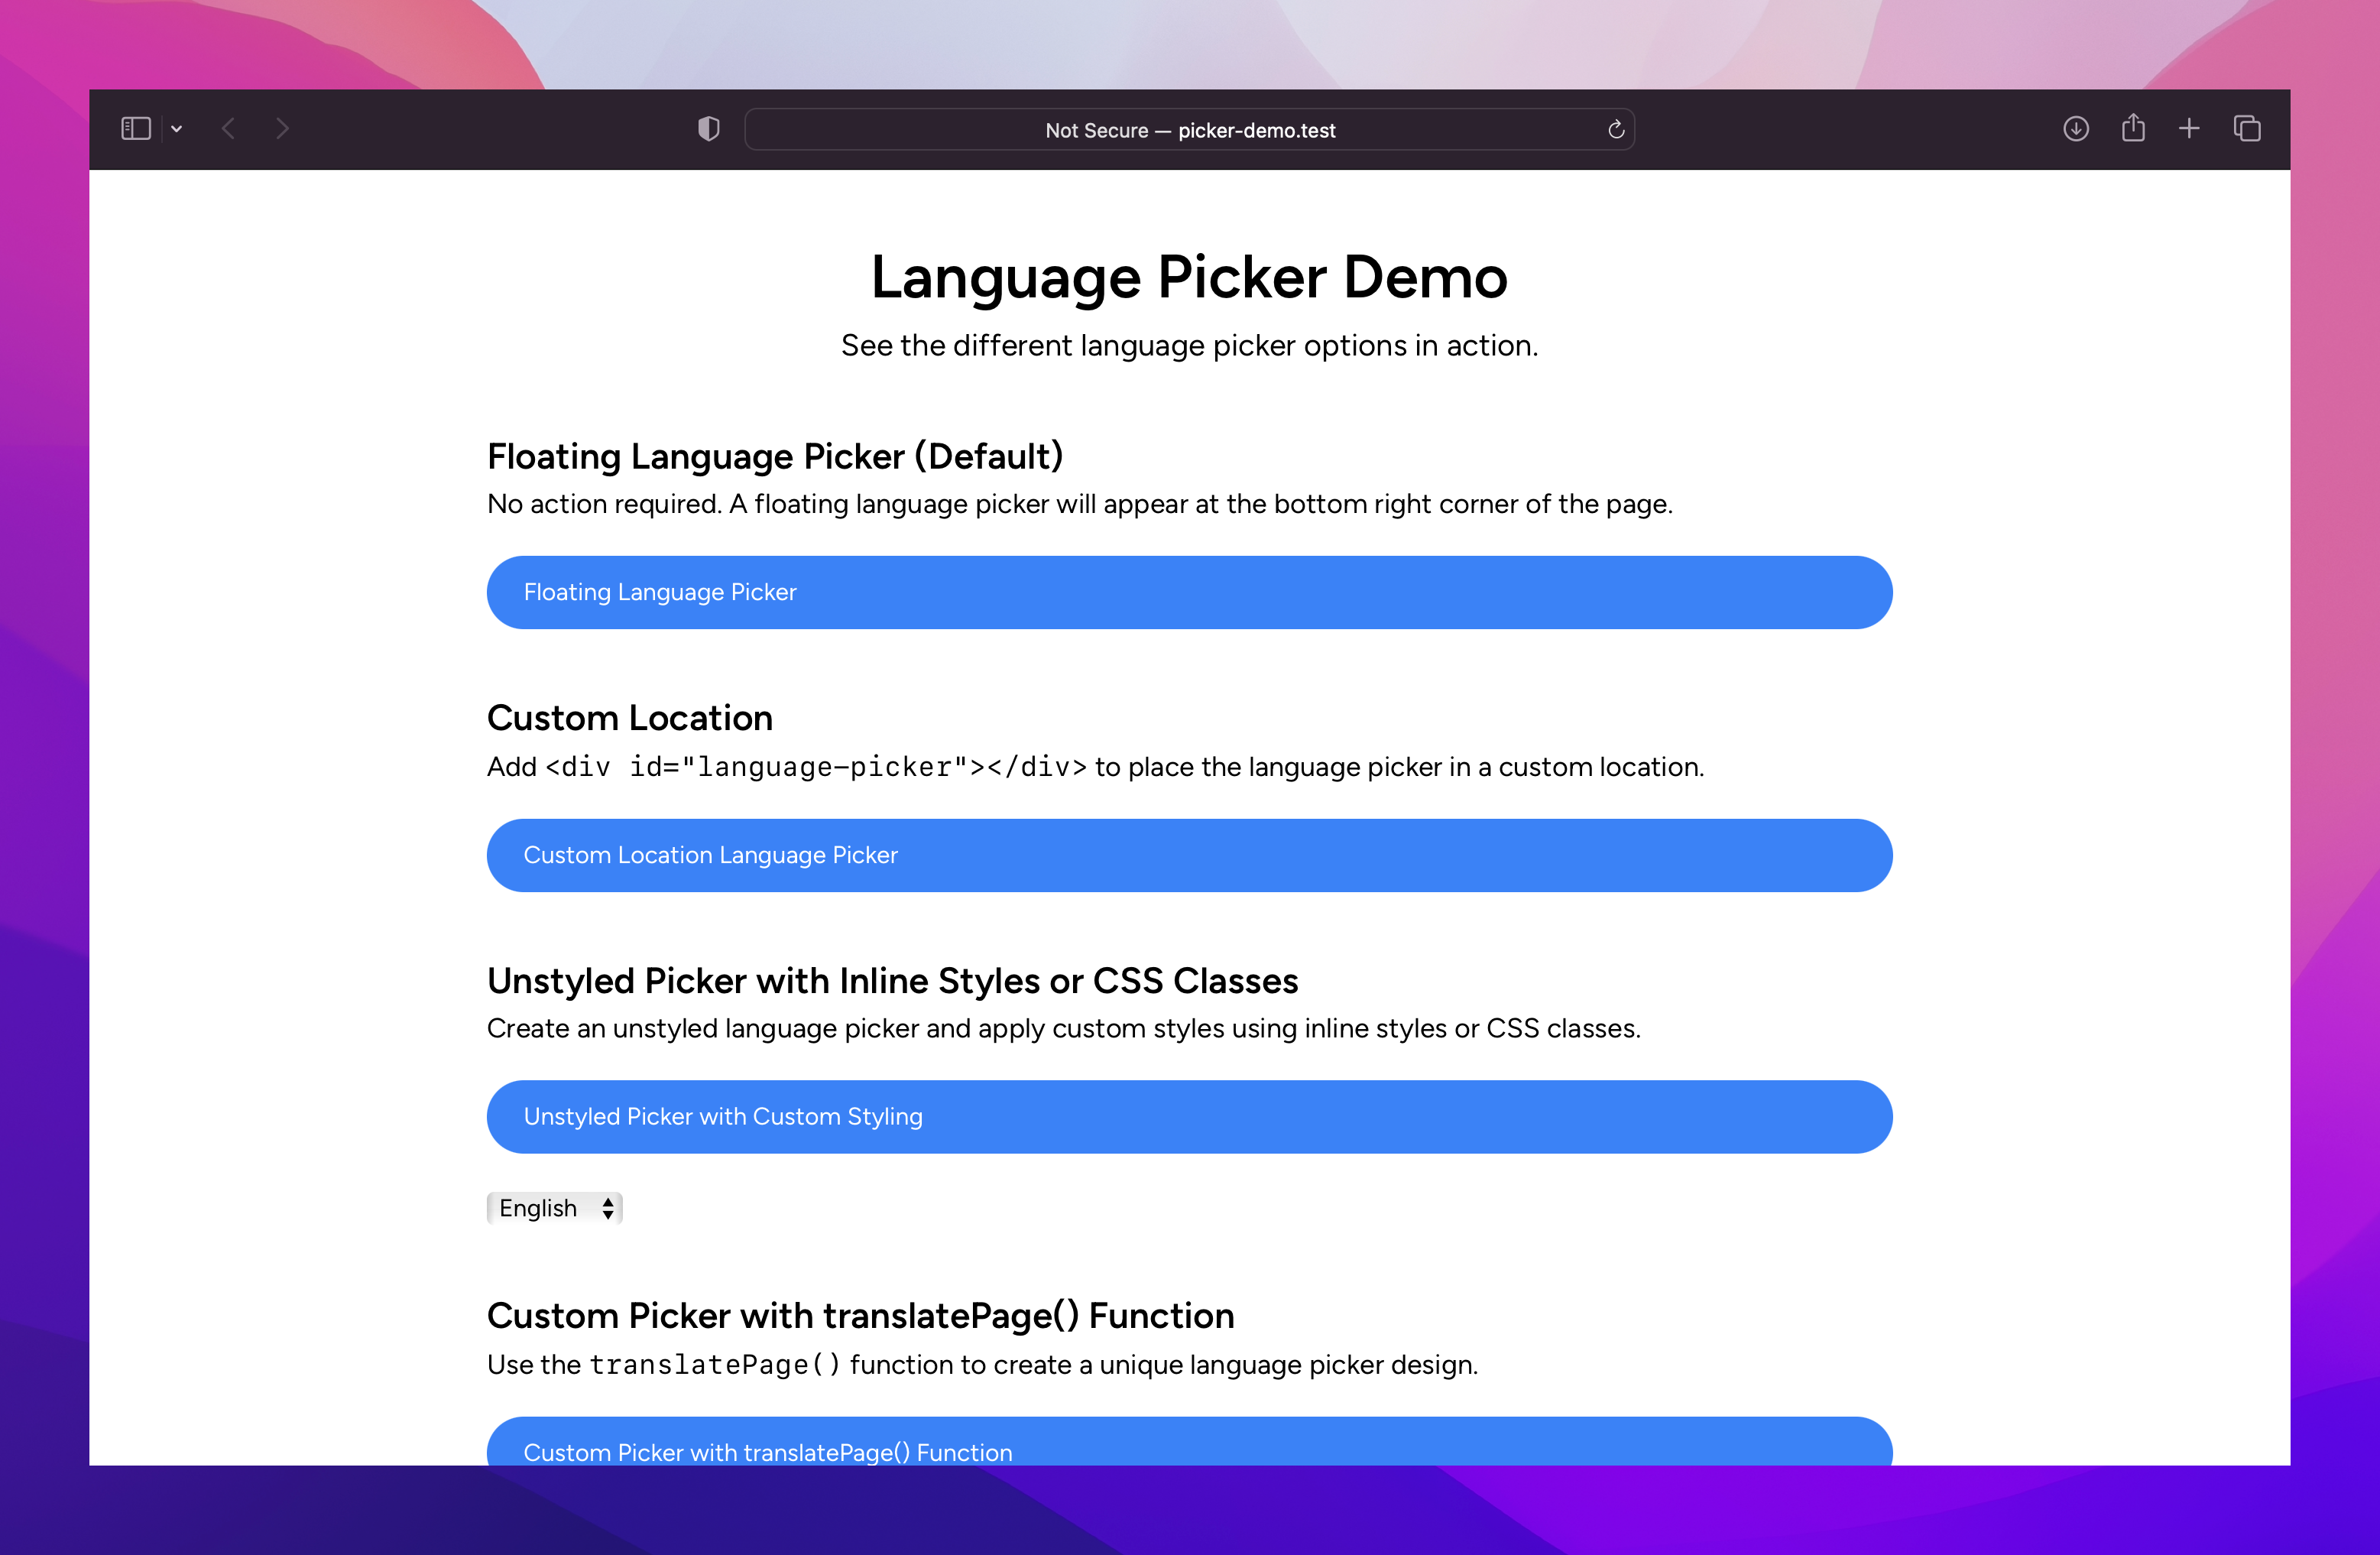
Option 3: Unstyled Picker with Inline Styles or CSS Classes
Create an unstyled language picker and apply custom styles using inline styles or CSS classes. Add the following HTML code to your site, and then apply your preferred styling:
<div id="language-picker" style="your-inline-styles"></div>
OR
<div id="language-picker" class="your-css-class"></div>
Option 4: Custom Picker with translatePage() Function
For advanced customization, you can use the translatePage() function to create a unique language picker design. This function accepts the language code as an argument and translates the page accordingly. Here's an example of how you can use the translatePage() function with custom HTML elements:
<button onclick="translatePage('en')">English</button>
<button onclick="translatePage('es')">Español</button>
<button onclick="translatePage('fr')">Français</button>

Note, you will need to turn the language picker off in the TranslateWith.ai dashboard if you use this option.
Remember to test the functionality of your custom language picker after implementing these options to ensure it works as intended.
This documentation page provides a clear overview of the available language picker setup options, along with examples and descriptions of images or screenshots for better understanding.